PHP搭建个人博客系统教程详解
想搭建一个属于自己的个人博客吗?本文为你提供一份详细的PHP搭建个人博客系统教程,让你从零开始,轻松拥有一个功能完善、安全可靠的博客平台。教程首先介绍如何使用XAMPP在macOS上搭建本地PHP/MySQL环境,并讲解如何设计数据库结构,包括文章(posts)、用户(users)和评论(comments)等表的设计。接着,深入探讨核心PHP文件的创建,如index.php、admin.php和connect.php,并强调使用PDO进行安全数据库连接和错误处理。此外,教程还涵盖用户认证的实现,包括注册(register.php)和登录(login.php)功能,以及密码哈希和会话管理,确保后台管理的安全。最后,教程将引导你构建一个简单的后台管理面板,并展示如何在前端页面展示博客文章,包括文章列表和详情页面的实现。通过本教程,你将掌握PHP博客系统的搭建全流程,打造个性化的博客空间。
Set up XAMPP on macOS to create a local PHP/MySQL environment, placing project files in htdocs. 2. Design a blog_db database with tables for posts, users, and comments, linking them via foreign keys. 3. Create core PHP files including index.php, admin.php, and connect.php using PDO with error handling for secure database connections. 4. Implement user authentication with register.php and login.php, hashing passwords and managing sessions to protect admin access. 5. Build an admin dashboard in admin.php with forms for creating posts, sanitizing input via prepared statements to prevent SQL injection. 6. Display blog posts on the frontend by querying and looping through records in index.php, formatting dates and linking to post.php for full articles.
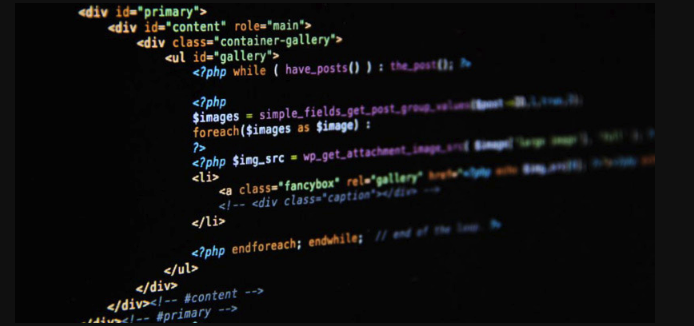
1. Set Up Your Development Environment
To begin building a PHP-based personal blog, you need a local server environment that supports PHP and MySQL.
The operating environment of this tutorial: MacBook Pro, macOS Sonoma
Installing a stack like XAMPP or WAMP allows you to run PHP scripts and manage databases locally. After installation, place your project files in the htdocs directory for Apache to serve them correctly.
- Download and install XAMPP from the official website
- Start the Apache and MySQL services via the XAMPP control panel
- Create a new folder in the htdocs directory for your blog project
2. Design the Database Structure
A well-structured database is essential for storing blog posts, user information, and comments.
Create a database named blog_db using phpMyAdmin or the MySQL command line. Define tables such as posts, users, and comments with appropriate fields.
- Use the posts table with columns: id, title, content, author_id, created_at
- Ensure the users table includes username, password (hashed), and email
- Link comments to posts using post_id as a foreign key
3. Create Core PHP Files
Your blog system requires several key PHP files to handle routing, display content, and process forms.
Develop files like index.php, post.php, admin.php, and connect.php. The connect.php file should contain database connection logic using PDO or MySQLi.
- In connect.php, define host, username, password, and database name as variables
- Use try-catch blocks when connecting with PDO to handle errors gracefully
- Include connect.php at the top of any script that interacts with the database
4. Implement User Authentication
Secure access to the admin panel by implementing login and registration functionality.
Registration should hash passwords using password_hash() before storing them. During login, verify credentials using password_verify().
- Create register.php and login.php forms with proper validation
- Store session data using $_SESSION to maintain user state
- Redirect authenticated users to the dashboard and block unauthorized access
5. Build the Admin Dashboard
The admin area enables content management such as creating, editing, and deleting blog posts.
Design a simple interface where authenticated users can submit new articles. Use HTML forms to collect title and content, then insert data into the posts table.
- Add a form in admin.php with fields for title and content
- Sanitize input using filter_input() or prepared statements to prevent SQL injection
- After successful insertion, redirect back to the admin page or show a success message
6. Display Blog Posts on the Frontend
The homepage should list all published blog posts with titles and excerpts.
In index.php, query the database for all posts ordered by creation date. Loop through the results and output each post’s title and a truncated version of its content.
- Use LIMIT in SQL queries if you plan to implement pagination later
- Format dates using PHP's date() function for better readability
- Link each post title to post.php?id=1 so users can view the full article
今天关于《PHP搭建个人博客系统教程详解》的内容就介绍到这里了,是不是学起来一目了然!想要了解更多关于的内容请关注golang学习网公众号!
 包子漫画官网入口:热门漫画免费看
- 上一篇
- 包子漫画官网入口:热门漫画免费看
- 下一篇
- 《问鼎三国》基地建造攻略详解
-
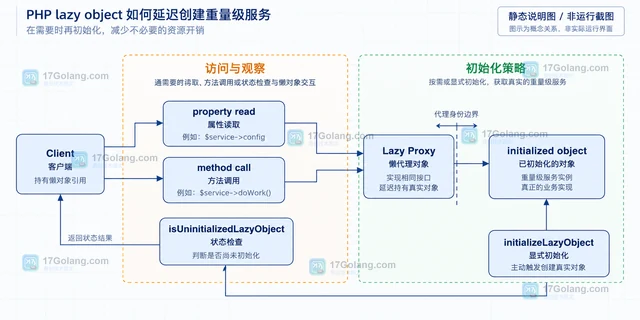
- 文章 · php教程 | 1小时前 | php教程 · PHP 8.4 · php ReflectionClass newLazyGhost newLazyProxy lazy object 重量级服务
- PHP lazy object 如何延迟创建重量级服务
- 202浏览 收藏
-
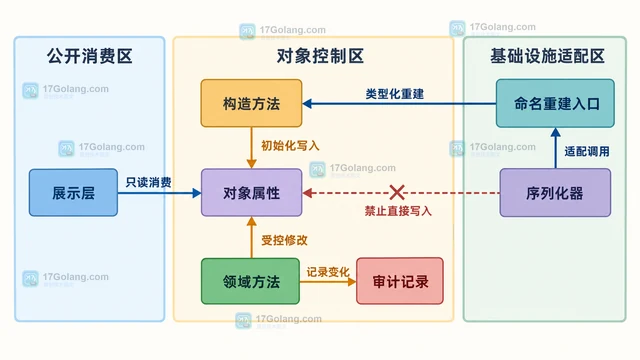
- 文章 · php教程 | 3小时前 | 面向对象 · PHP · PHP 8.4 · PHP非对称属性可见性 private(set) protected(set) PHP 8.4属性 PHP对象封装
- PHP 非对称属性可见性如何限制对象外部写入
- 216浏览 收藏
-
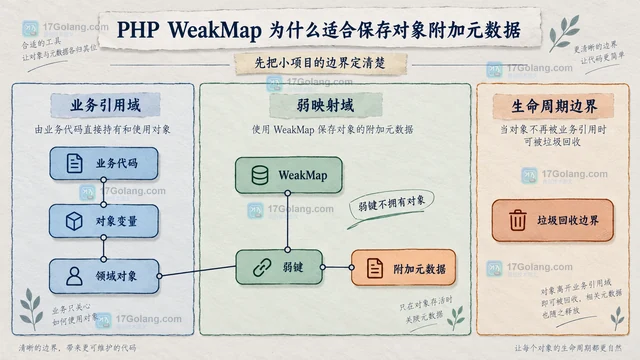
- 文章 · php教程 | 5小时前 | 内存管理 · php教程 · 弱引用 PHP 8 SplObjectStorage PHP WeakMap 对象元数据
- PHP WeakMap 为什么适合保存对象附加元数据
- 227浏览 收藏
-
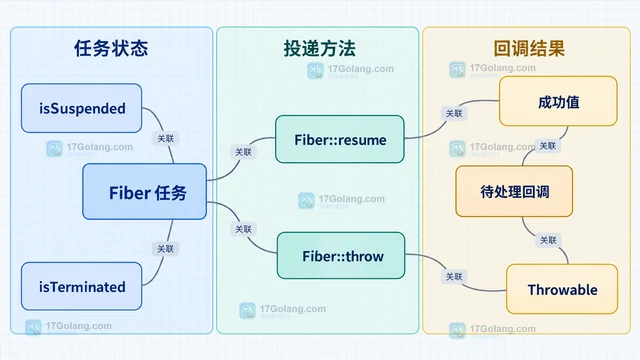
- 文章 · php教程 | 8小时前 | PHP · 异步编程 · php教程 · 异步回调 事件循环 PHP Fiber Fiber suspend Fiber resume
- PHP Fiber 如何让同步接口适配事件循环
- 272浏览 收藏
-
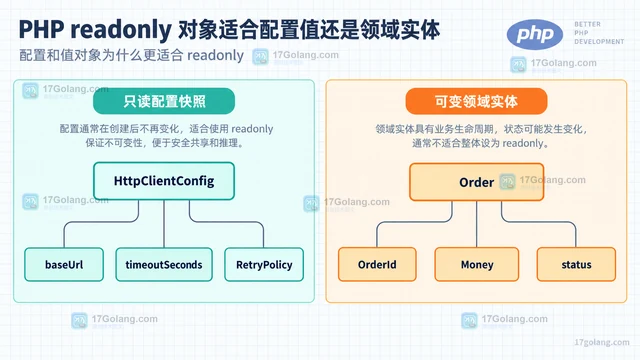
- 文章 · php教程 | 10小时前 |
- PHP readonly 对象适合配置值还是领域实体
- 178浏览 收藏
-
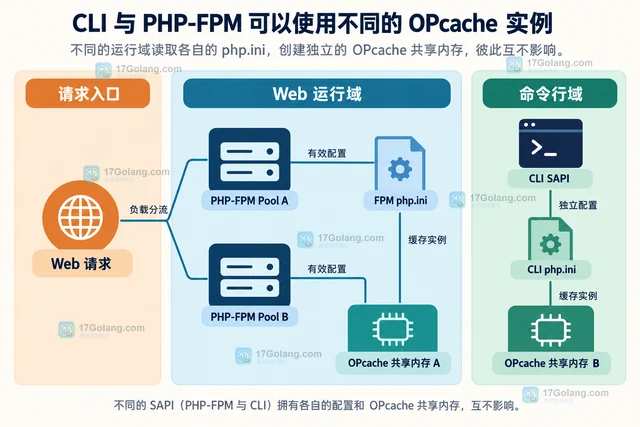
- 文章 · php教程 | 12小时前 | PHP · php-fpm · PHP OPcache opcache_reset validate_timestamps revalidate_freq opcache_invalidate
- OPcache 更新代码后仍命中旧脚本,该检查哪些配置
- 382浏览 收藏
-
- 文章 · php教程 | 19小时前 |
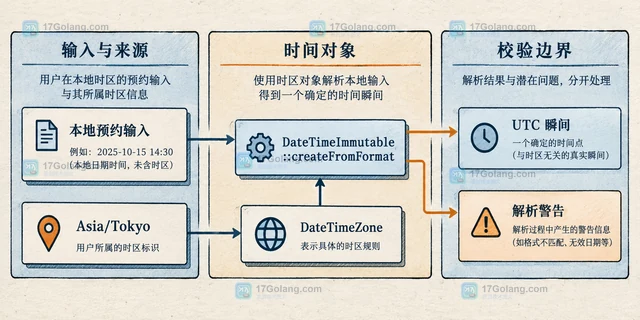
- PHP DateTimeImmutable 处理跨时区预约的正确方式
- 448浏览 收藏
-
- 文章 · php教程 | 1天前 |
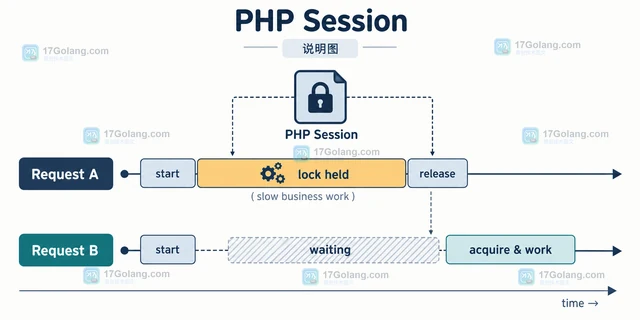
- PHP Session 锁为什么会阻塞并发请求,怎样缩短持锁时间
- 305浏览 收藏
-

- 前端进阶之JavaScript设计模式
- 设计模式是开发人员在软件开发过程中面临一般问题时的解决方案,代表了最佳的实践。本课程的主打内容包括JS常见设计模式以及具体应用场景,打造一站式知识长龙服务,适合有JS基础的同学学习。
- 543次学习
-

- GO语言核心编程课程
- 本课程采用真实案例,全面具体可落地,从理论到实践,一步一步将GO核心编程技术、编程思想、底层实现融会贯通,使学习者贴近时代脉搏,做IT互联网时代的弄潮儿。
- 516次学习
-

- 简单聊聊mysql8与网络通信
- 如有问题加微信:Le-studyg;在课程中,我们将首先介绍MySQL8的新特性,包括性能优化、安全增强、新数据类型等,帮助学生快速熟悉MySQL8的最新功能。接着,我们将深入解析MySQL的网络通信机制,包括协议、连接管理、数据传输等,让
- 500次学习
-
- JavaScript正则表达式基础与实战
- 在任何一门编程语言中,正则表达式,都是一项重要的知识,它提供了高效的字符串匹配与捕获机制,可以极大的简化程序设计。
- 487次学习
-

- 从零制作响应式网站—Grid布局
- 本系列教程将展示从零制作一个假想的网络科技公司官网,分为导航,轮播,关于我们,成功案例,服务流程,团队介绍,数据部分,公司动态,底部信息等内容区块。网站整体采用CSSGrid布局,支持响应式,有流畅过渡和展现动画。
- 485次学习
-
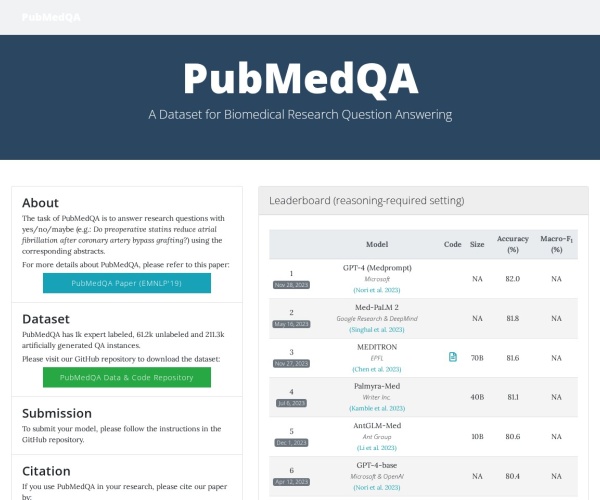
- PubMedQA
- 深入了解PubMedQA生物医学问答数据集,涵盖其核心功能、使用方法及在临床决策、药物研发等场景的应用,助力提升NLP模型性能。
- 386次使用
-
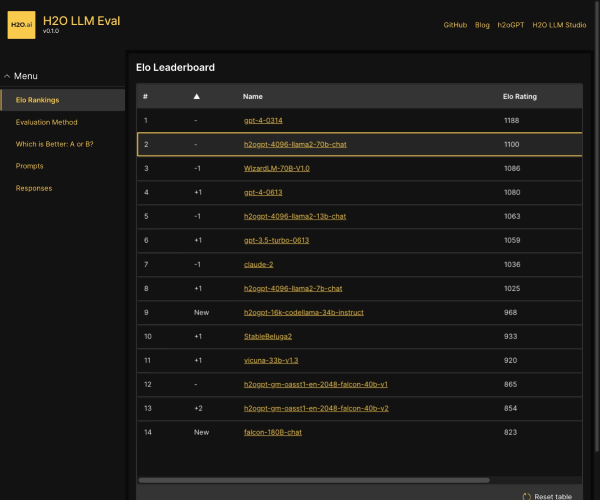
- H2O EvalGPT
- H2O EvalGPT是H2O.ai推出的开源LLM评估平台,提供详细的大模型性能排行榜、行业特定基准测试及A/B测试功能,助您快速选择最适合项目的高性能大语言模型。
- 466次使用
-

- LMArena
- LMArena是加州大学伯克利分校推出的AI模型匿名评测平台。通过盲测投票机制,用户可对比不同大模型回答并生成实时排行榜,助力开发者优化模型及用户选择最佳AI工具。
- 474次使用
-
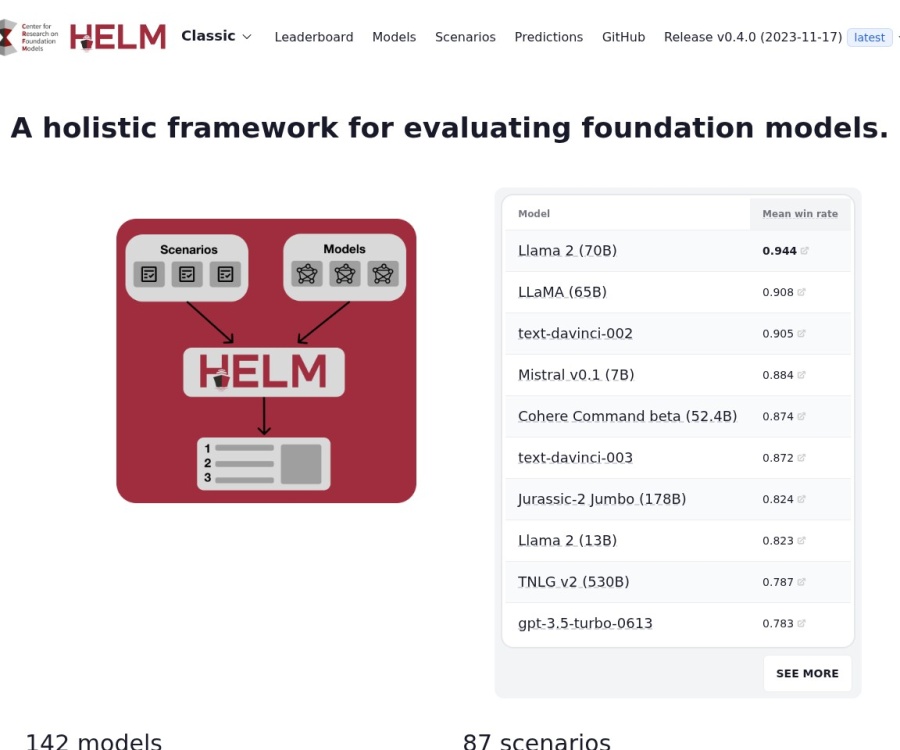
- HELM
- 深入了解斯坦福推出的HELM(Holistic Evaluation of Language Models)大模型评测体系。本文解析其核心功能、安装配置步骤及应用场景,涵盖准确性、公平性、鲁棒性等多维度指标,助力开发者全面优化语言模型性能。
- 414次使用
-
- MMBench
- MMBench是由上海人工智能实验室等机构联合推出的多模态基准测试平台,提供细粒度能力评估、大规模数据集及VLMEvalKit工具。本文详细介绍其核心功能、安装使用方法及应用场景,助力开发者全面评估多模态模型性能。
- 240次使用
-
- PHP JSON_THROW_ON_ERROR 抛错后怎么保留原始字段位置
- 2026-09-09 501浏览
-
- PHP 8.5 array_last() 怎么处理空数组:从 null 结果到兼容旧版本的 Polyfill
- 2026-08-16 501浏览
-
- 宝塔配置Ruby环境:RVM+Nginx反代教程
- 2026-05-29 501浏览
-
- unset函数作用范围详解
- 2026-05-29 501浏览
-
- VS Code配置Xdebug教程:PHP调试技巧全解析
- 2026-05-13 501浏览