Deploy MySQL using Helm in Kubernetes with Persistent Volume
小伙伴们对数据库编程感兴趣吗?是否正在学习相关知识点?如果是,那么本文《Deploy MySQL using Helm in Kubernetes with Persistent Volume》,就很适合你,本篇文章讲解的知识点主要包括MySQL、docker、yaml、kubernetes。在之后的文章中也会多多分享相关知识点,希望对大家的知识积累有所帮助!
How to deploy MySQL-Server Docker using Helm Chart in Kubernetes with Persistent Volume!
-
Pull MySQL Server docker image from Docker repository, tag it as
appreciate, then push to private repository.image: pullPolicy: IfNotPresent repository: qio01:5000/mysql-server tag: latest persistence: accessMode: ReadWriteOnce enabled: true size: 40Gi storageClass: standard resources: requests: memory: 512Mi cpu: 500m serviceType: ClusterIP mysqldbPassword: password -
Create secret.yaml. If you have defined the mysqlRootPassword, the password will be configured. You could define a different password for root in the values.yaml by setting mysqlRootPassword.
apiVersion: v1 kind: Secret metadata: name: {{ template "fullname" . }} labels: app: {{ template "fullname" . }} chart: "{{ .Chart.Name }}-{{ .Chart.Version }}" release: "{{ .Release.Name }}" heritage: "{{ .Release.Service }}" type: Opaque data: mysqldb-root-password: {{ default "" .Values.mysqlRootPassword | b64enc | quote }} mysqldb-password: {{ default "" .Values.mysqldbPassword | b64enc | quote }} {{- if .Values.mysqlRootPassword }} data-source-name: {{ printf "root%s@(localhost:3306)/" .Values.mysqlRootPassword | b64enc | quote}} {{- else }} data-source-name: {{ printf "root@(localhost:3306)/" | b64enc | quote}} {{- end }} -
Edit deployment.yaml. A few things you might be interested to look at. The env configurations. MySQL user password, root password, default database, and allow for empty password all can be found here. The most important configuration is the mountPath of volumeMounts. This is for persistent storage, you need to set the mountPath correctly, different MySQL distribution will use different path.
apiVersion: extensions/v1beta1 kind: Deployment metadata: name: {{ template "fullname" . }} labels: app: {{ template "fullname" . }} chart: "{{ .Chart.Name }}-{{ .Chart.Version }}" release: "{{ .Release.Name }}" heritage: "{{ .Release.Service }}" spec: template: metadata: labels: app: {{ template "fullname" . }} release: {{ .Release.Name }} component: "{{.Release.Name}}" nautilian.snapshot.enabled: "true" spec: containers: - name: {{ template "fullname" . }} image: {{ .Values.image.repository}}:{{ .Values.image.tag}} imagePullPolicy: {{ .Values.image.pullPolicy }} env: - name: MYSQLDB_ROOT_PASSWORD valueFrom: secretKeyRef: name: {{ template "fullname" . }} key: mysqldb-root-password - name: MYSQLDB_USER value: {{ default "" .Values.mysqldbUser | quote }} - name: MYSQLDB_PASSWORD valueFrom: secretKeyRef: name: {{ template "fullname" . }} key: mysqldb-password - name: MYSQLDB_DATABASE value: {{ default "" .Values.mysqldbDatabase | quote }} - name: ALLOW_EMPTY_PASSWORD value: "yes" ports: - name: mysql containerPort: 3306 livenessProbe: exec: command: - mysqladmin - ping initialDelaySeconds: 30 timeoutSeconds: 5 readinessProbe: exec: command: - mysqladmin - ping initialDelaySeconds: 5 timeoutSeconds: 1 resources: {{ toYaml .Values.resources | indent 10 }} volumeMounts: - name: data mountPath: /var/lib/mysql volumes: - name: config configMap: name: {{ template "fullname" . }} - name: data {{- if .Values.persistence.enabled }} persistentVolumeClaim: claimName: {{ .Values.persistence.existingClaim | default (include "fullname" .) }} {{- else }} emptyDir: {} {{- end -}} -
Create svc.yaml to create a service in kubernetes.
apiVersion: v1 kind: Service metadata: name: {{ template "fullname" . }} labels: app: {{ template "fullname" . }} chart: "{{ .Chart.Name }}-{{ .Chart.Version }}" release: "{{ .Release.Name }}" heritage: "{{ .Release.Service }}" spec: type: {{ .Values.serviceType }} ports: - name: mysql port: 3306 targetPort: 3306 selector: app: {{ template "fullname" . }} -
Create pvc.yaml for the persistent volume.
{{- if and .Values.persistence.enabled (not .Values.persistence.existingClaim) }} kind: PersistentVolumeClaim apiVersion: v1 metadata: name: {{ template "fullname" . }} labels: app: {{ template "fullname" . }} chart: "{{ .Chart.Name }}-{{ .Chart.Version }}" release: "{{ .Release.Name }}" heritage: "{{ .Release.Service }}" annotations: {{- if .Values.persistence.storageClass }} volume.beta.kubernetes.io/storage-class: {{ .Values.persistence.storageClass | quote }} {{- else }} volume.alpha.kubernetes.io/storage-class: default {{- end }} spec: accessModes: - {{ .Values.persistence.accessMode | quote }} resources: requests: storage: {{ .Values.persistence.size | quote }} {{- end }} -
Deploy using helm install.
$ helm install
--name --namespace name -
Login to the shell of the Pod to do MySQL configurations. Grant all privileges on that database and (in the future) tables. WITH GRANT OPTION creates a MySQL user that can edit the permissions of other users.
ALTER USER 'root'@'localhost' IDENTIFIED BY 'password';
GRANT ALL PRIVILEGES ON *.* TO 'root'@'%' IDENTIFIED BY 'password';
GRANT ALL PRIVILEGES ON *.* TO 'root'@'%' WITH GRANT OPTION;
FLUSH PRIVILEGES;
今天关于《Deploy MySQL using Helm in Kubernetes with Persistent Volume》的内容介绍就到此结束,如果有什么疑问或者建议,可以在golang学习网公众号下多多回复交流;文中若有不正之处,也希望回复留言以告知!
 数据库
数据库 
-
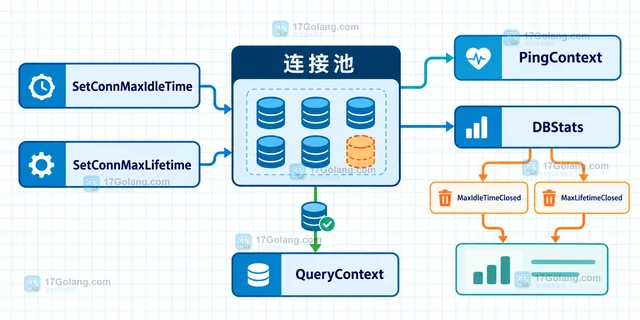
- 数据库 · MySQL | 17小时前 | 连接池 · 故障排查 · MySQL教程 · mysql 连接池 wait_timeout database/sql SetConnMaxIdleTime SetConnMaxLifetime 空闲连接 PingContext
- MySQL 连接池空闲连接失效 怎样处理
- 350浏览 收藏
-
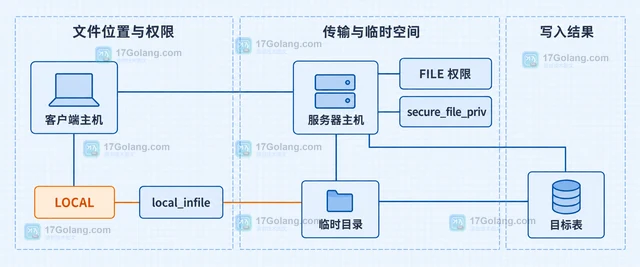
- 数据库 · MySQL | 17小时前 | MySQL · 数据库 · csv · 数据导入 · CSV导入 MySQL LOAD DATA LOAD DATA LOCAL INFILE MySQL批量导入
- MySQL LOAD DATA 读取 CSV 怎样处理
- 307浏览 收藏
-
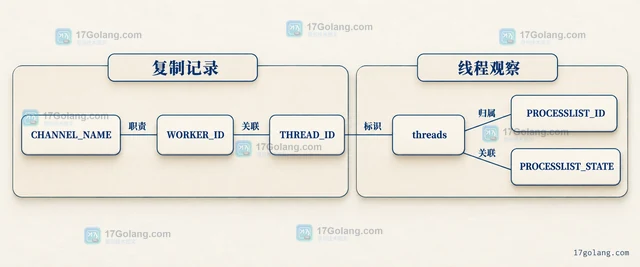
- 数据库 · MySQL | 17小时前 |
- MySQL 复制延迟区分线程 怎样处理
- 141浏览 收藏
-
- 数据库 · MySQL | 17小时前 |
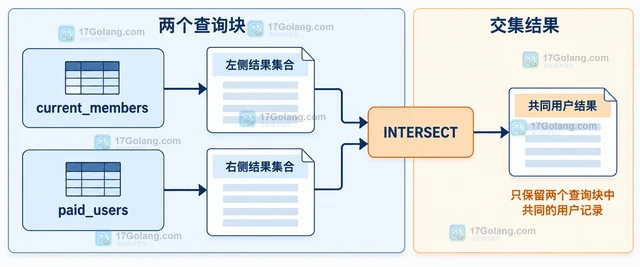
- MySQL INTERSECT 怎样合并两组去重结果
- 358浏览 收藏
-
- 数据库 · MySQL | 17小时前 |
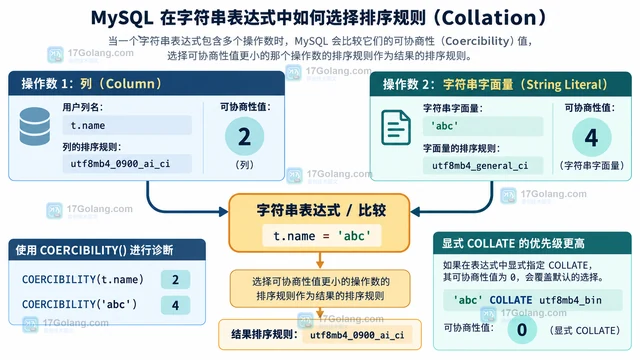
- MySQL COERCIBILITY 怎样判断表达式使用哪个排序规则
- 361浏览 收藏
-
- 数据库 · MySQL | 17小时前 |
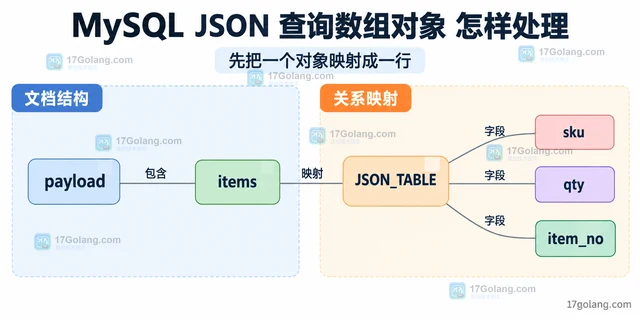
- MySQL JSON 查询数组对象 怎样处理
- 467浏览 收藏
-
- 数据库 · MySQL | 17小时前 |
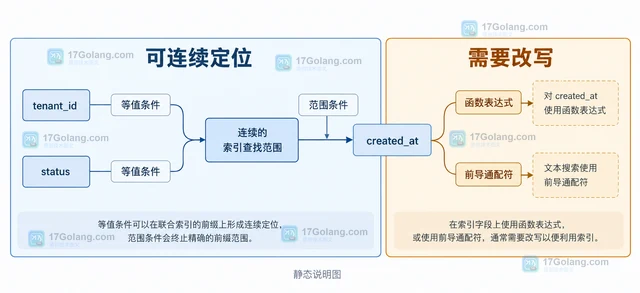
- MySQL 联合索引没有命中 怎样处理
- 415浏览 收藏
-
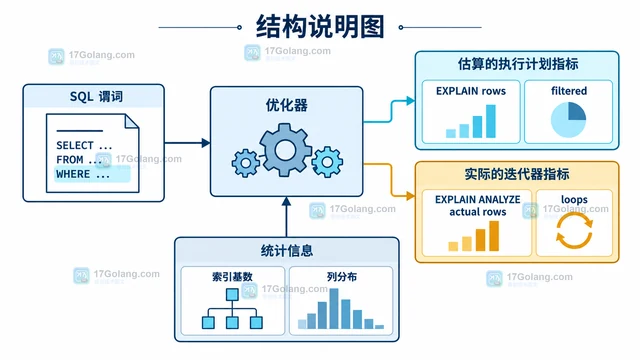
- 数据库 · MySQL | 17小时前 | MySQL · 执行计划 · sql优化 · mysql explain ANALYZE TABLE
- MySQL EXPLAIN 看行数偏差 怎样处理
- 437浏览 收藏
-
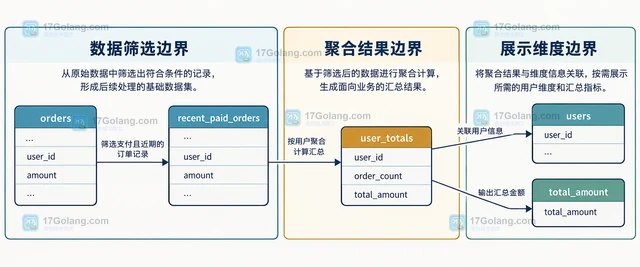
- 数据库 · MySQL | 17小时前 |
- MySQL CTE 拆分复杂查询 怎样处理
- 413浏览 收藏
-
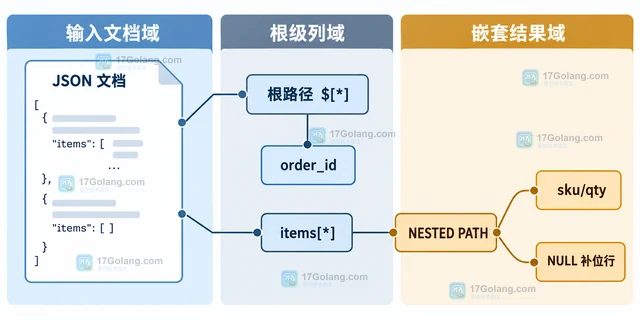
- 数据库 · MySQL | 17小时前 | MySQL · JSON · 故障排查 · mysql JSON数组 JSON_TABLE NESTED PATH SQL排查
- MySQL JSON_TABLE 嵌套数组为空时为什么还会返回一行
- 437浏览 收藏
-

- 前端进阶之JavaScript设计模式
- 设计模式是开发人员在软件开发过程中面临一般问题时的解决方案,代表了最佳的实践。本课程的主打内容包括JS常见设计模式以及具体应用场景,打造一站式知识长龙服务,适合有JS基础的同学学习。
- 543次学习
-

- GO语言核心编程课程
- 本课程采用真实案例,全面具体可落地,从理论到实践,一步一步将GO核心编程技术、编程思想、底层实现融会贯通,使学习者贴近时代脉搏,做IT互联网时代的弄潮儿。
- 516次学习
-

- 简单聊聊mysql8与网络通信
- 如有问题加微信:Le-studyg;在课程中,我们将首先介绍MySQL8的新特性,包括性能优化、安全增强、新数据类型等,帮助学生快速熟悉MySQL8的最新功能。接着,我们将深入解析MySQL的网络通信机制,包括协议、连接管理、数据传输等,让
- 500次学习
-
- JavaScript正则表达式基础与实战
- 在任何一门编程语言中,正则表达式,都是一项重要的知识,它提供了高效的字符串匹配与捕获机制,可以极大的简化程序设计。
- 487次学习
-

- 从零制作响应式网站—Grid布局
- 本系列教程将展示从零制作一个假想的网络科技公司官网,分为导航,轮播,关于我们,成功案例,服务流程,团队介绍,数据部分,公司动态,底部信息等内容区块。网站整体采用CSSGrid布局,支持响应式,有流畅过渡和展现动画。
- 485次学习
-
- PubMedQA
- 深入了解PubMedQA生物医学问答数据集,涵盖其核心功能、使用方法及在临床决策、药物研发等场景的应用,助力提升NLP模型性能。
- 592次使用
-
- H2O EvalGPT
- H2O EvalGPT是H2O.ai推出的开源LLM评估平台,提供详细的大模型性能排行榜、行业特定基准测试及A/B测试功能,助您快速选择最适合项目的高性能大语言模型。
- 629次使用
-

- LMArena
- LMArena是加州大学伯克利分校推出的AI模型匿名评测平台。通过盲测投票机制,用户可对比不同大模型回答并生成实时排行榜,助力开发者优化模型及用户选择最佳AI工具。
- 661次使用
-
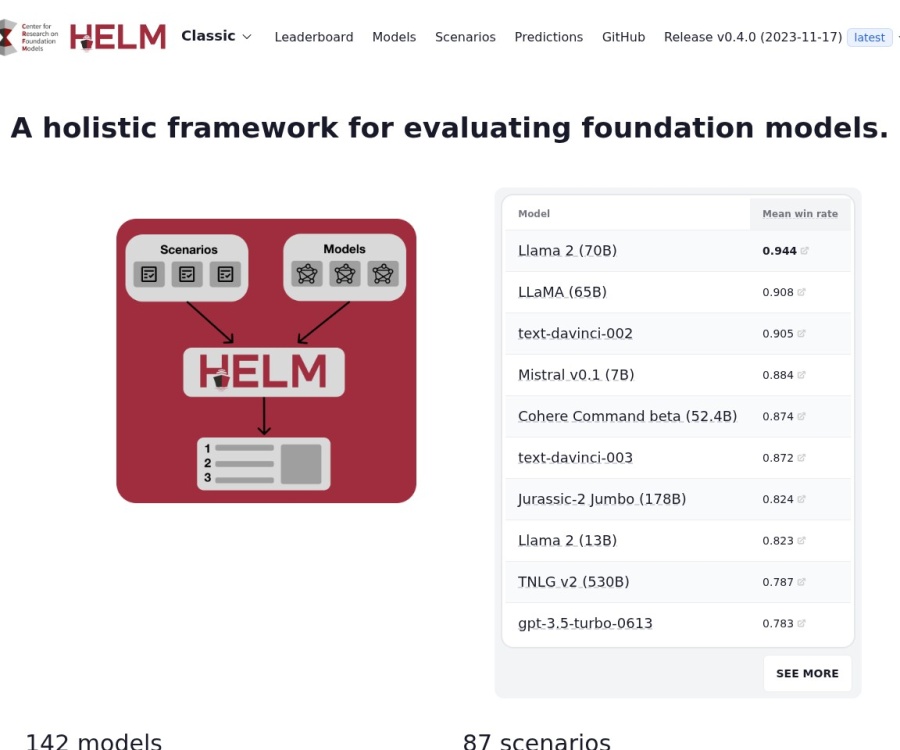
- HELM
- 深入了解斯坦福推出的HELM(Holistic Evaluation of Language Models)大模型评测体系。本文解析其核心功能、安装配置步骤及应用场景,涵盖准确性、公平性、鲁棒性等多维度指标,助力开发者全面优化语言模型性能。
- 631次使用
-

- MMBench
- MMBench是由上海人工智能实验室等机构联合推出的多模态基准测试平台,提供细粒度能力评估、大规模数据集及VLMEvalKit工具。本文详细介绍其核心功能、安装使用方法及应用场景,助力开发者全面评估多模态模型性能。
- 446次使用
-
- MySQL 明明加了索引,为什么查询还是很慢?先查这 6 个点
- 2026-06-27 374浏览
-
- golang MySQL实现对数据库表存储获取操作示例
- 2022-12-22 499浏览
-
- golang进程内存控制避免docker内oom
- 2022-12-22 160浏览
-
- golang进程在docker中OOM后hang住问题解析
- 2022-12-22 105浏览
-
- golang 基于 mysql 简单实现分布式读写锁
- 2023-01-07 384浏览