使用 Selenium 和视觉比较进行视觉回归测试
欢迎各位小伙伴来到golang学习网,相聚于此都是缘哈哈哈!今天我给大家带来《使用 Selenium 和视觉比较进行视觉回归测试》,这篇文章主要讲到等等知识,如果你对文章相关的知识非常感兴趣或者正在自学,都可以关注我,我会持续更新相关文章!当然,有什么建议也欢迎在评论留言提出!一起学习!
视觉测试对于确保 web 应用程序的外观在更新或更改后保持一致和视觉正确至关重要。本博客将指导您使用 selenium 进行浏览器自动化,并使用自定义图像比较实用程序来执行视觉测试。
简介
视觉测试通过比较不同时间点拍摄的屏幕截图来帮助检测 ui 中的意外变化。在本指南中,我们将使用 selenium 自动化 web 交互并截取屏幕截图,然后使用称为视觉比较的图像比较实用程序来比较这些屏幕截图。
先决条件
在开始之前,请确保您已安装以下软件:
- python 3.x
- selenium(pip install selenium)
- 视觉比较(pip install visual-comparison)
设置环境
安装硒:
pip 安装selenium安装视觉比较包:
pip install 视觉比较
编写 selenium 脚本
让我们编写一个 selenium 脚本,用于登录示例网站、截取屏幕截图并将其与基线图像进行比较。
第一步:初始化webdriver并打开网页
首先,初始化webdriver并导航到目标网页:
from selenium import webdriver
from selenium.webdriver.common.by import by

# initialize the webdriver
driver = webdriver.chrome()

# open the target webpage
driver.get("https://www.saucedemo.com/v1/")
driver.maximize_window()
driver.implicitly_wait(5)
第2步:执行登录
接下来,填写用户名和密码字段并单击登录按钮登录网站。目前登录后可视化测试仪表板页面。您可以根据您的要求修改此代码:
# login to the website
username = driver.find_element(by.id, "user-name")
username.send_keys("standard_user")

password = driver.find_element(by.id, "password")
password.send_keys("secret_sauce")

# click on the login button
login_button = driver.find_element(by.id, "login-button")
login_button.click()`

**step 3: take a screenshot**
after logging in, take a screenshot of the page and save it:
# take a screenshot after login to visualize the changes
actual_image_path = "actual.png"
driver.save_screenshot(actual_image_path)

# close the browser
driver.quit()
第四步:比较图像
使用自定义图像比较实用程序将基线图像 (expected.png) 与新拍摄的屏幕截图 (actual.png) 进行比较:
from visual_comparison.utils import imagecomparisonutil

# load the expected image and the actual screenshot
expected_image_path = "expected.png"
expected_image = imagecomparisonutil.read_image(expected_image_path)
actual_image = imagecomparisonutil.read_image(actual_image_path)

# choose the path to save the comparison result
result_destination = "result.png"

# compare the images and save the result
similarity_index = imagecomparisonutil.compare_images(expected_image, actual_image, result_destination)
print("similarity index:", similarity_index)

# asserting both images
match_result = imagecomparisonutil.check_match(expected_image_path, actual_image_path)
assert match_result
完整脚本
这是结合所有步骤的完整脚本:
"""
this python script compares the baseline image with the actual image.
after any source code modification, the visual changes are compared easily through this script.
"""
from selenium import webdriver
from selenium.webdriver.common.by import by
from visual_comparison.utils import imagecomparisonutil

# initialize the webdriver
driver = webdriver.chrome()

# open the target webpage
driver.get("https://www.saucedemo.com/v1/")
driver.maximize_window()
driver.implicitly_wait(5)

# login to the website
username = driver.find_element(by.id, "user-name")
username.send_keys("standard_user")

password = driver.find_element(by.id, "password")
password.send_keys("secret_sauce")

# click on the login button
login_button = driver.find_element(by.id, "login-button")
login_button.click()

# take a screenshot after login to visualize the changes
actual_image_path = "actual.png"
expected_image_path = "expected.png"
driver.save_screenshot(actual_image_path)

# close the browser
driver.quit()

# load the expected image and the actual screenshot
expected_image = imagecomparisonutil.read_image(expected_image_path)
actual_image = imagecomparisonutil.read_image(actual_image_path)

# choose the path to save the comparison result
result_destination = "result.png"

# compare the images and save the result
similarity_index = imagecomparisonutil.compare_images(expected_image, actual_image, result_destination)
print("similarity index:", similarity_index)

# asserting both images
match_result = imagecomparisonutil.check_match(expected_image_path, actual_image_path)
assert match_result
Output
Similarity Index: 1.0 (i.e.No Visual Changes)
注意:在执行上述脚本之前创建基线图像/预期图像。参考此仓库github链接
结论
本指南演示了如何使用 selenium 进行网络自动化和视觉比较包来比较屏幕截图来执行视觉测试。通过自动化视觉测试,您可以确保 ui 更改不会引入任何视觉缺陷,从而保持一致的用户体验。
终于介绍完啦!小伙伴们,这篇关于《使用 Selenium 和视觉比较进行视觉回归测试》的介绍应该让你收获多多了吧!欢迎大家收藏或分享给更多需要学习的朋友吧~golang学习网公众号也会发布文章相关知识,快来关注吧!
 如何在 Spring Security 中自定义登录表单以使用自定义数据库
- 上一篇
- 如何在 Spring Security 中自定义登录表单以使用自定义数据库
- 下一篇
- 集成 Redis、MySQL、Kafka、Logstash、Elasticsearch、TiDB 和 CloudCanal
-
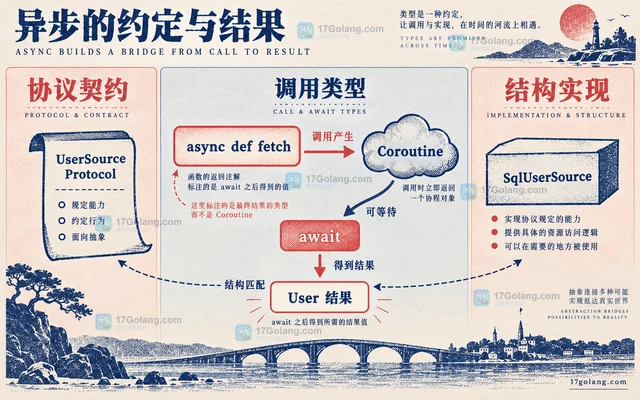
- 文章 · python教程 | 1小时前 | Python教程 · 静态类型检查 异步方法 Python Protocol 结构类型 Awaitable
- Python Protocol 怎样描述带异步方法的结构类型
- 363浏览 收藏
-
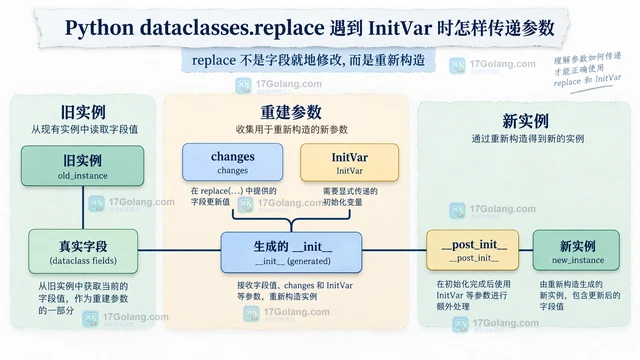
- 文章 · python教程 | 3小时前 | Python教程 · InitVar __post_init__ Python dataclasses.replace 数据类复制
- Python dataclasses.replace 遇到 InitVar 时怎样传递参数
- 381浏览 收藏
-
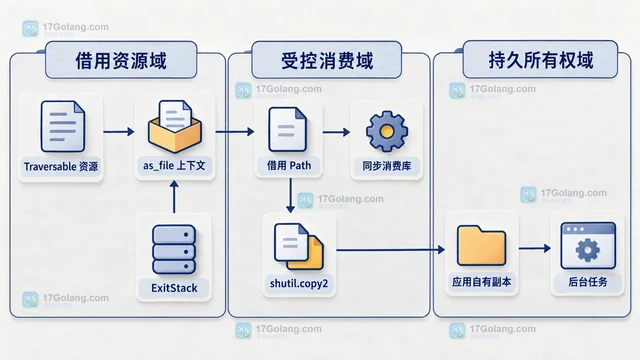
- 文章 · python教程 | 5小时前 | python · pathlib ·
- Python importlib.resources.as_file 的临时路径何时失效
- 318浏览 收藏
-
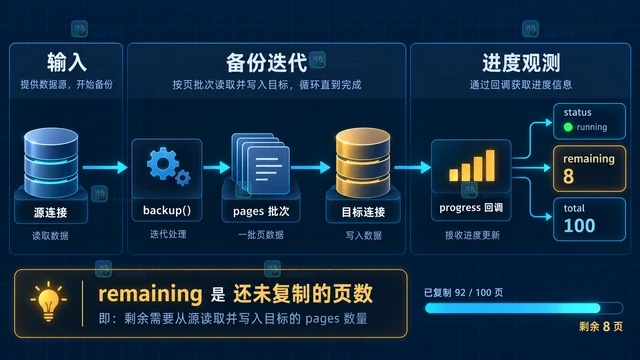
- 文章 · python教程 | 7小时前 | SQLite · Python教程 · Python sqlite3 Connection.backup 进度回调 SQLite备份
- Python sqlite3 备份进度回调怎样判断剩余页数
- 264浏览 收藏
-
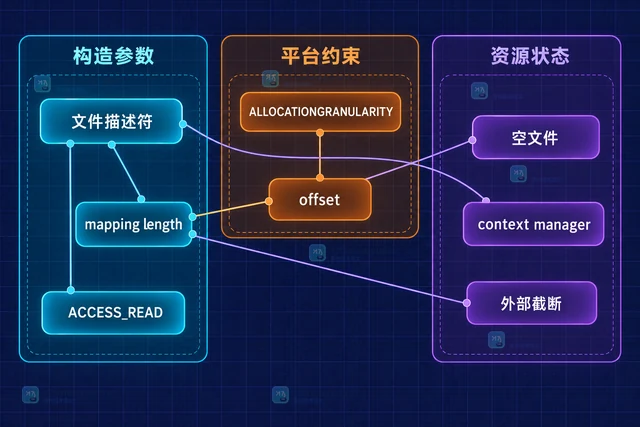
- 文章 · python教程 | 10小时前 | python · 内存优化 · Python教程 · 文件读取 大文件处理 Python mmap 分段映射 ALLOCATIONGRANULARITY
- Python mmap 怎样分段处理超过内存的大文件
- 146浏览 收藏
-
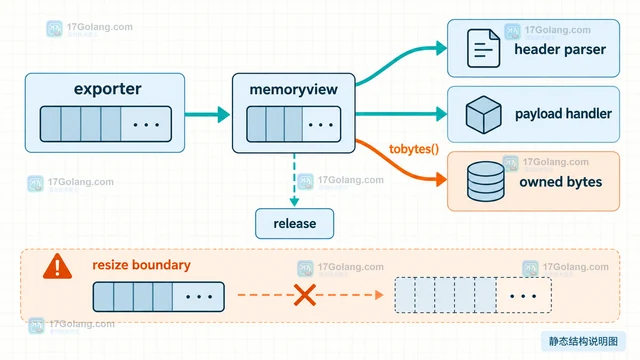
- 文章 · python教程 | 12小时前 | python · Python 二进制协议 零拷贝 memoryview
- Python memoryview 如何零拷贝切片二进制协议数据
- 225浏览 收藏
-
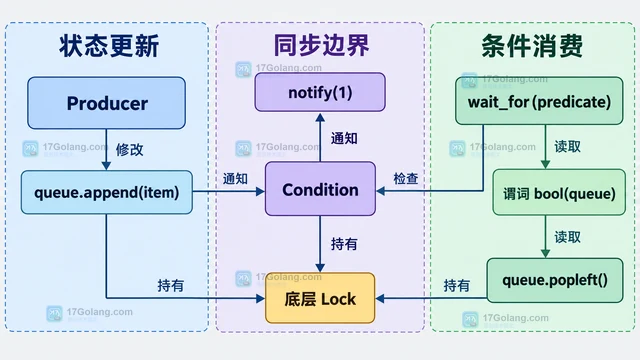
- 文章 · python教程 | 14小时前 | 并发控制 · Python教程 · asyncio · 虚假唤醒 wait_for Python asyncio asyncio.Condition 异步同步
- Python asyncio.Condition.wait_for 如何处理虚假唤醒
- 478浏览 收藏
-
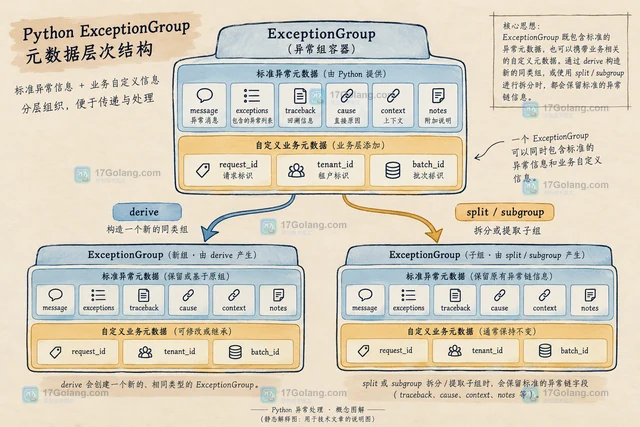
- 文章 · python教程 | 16小时前 |
- Python ExceptionGroup 派生新组时如何保留异常元数据
- 417浏览 收藏
-
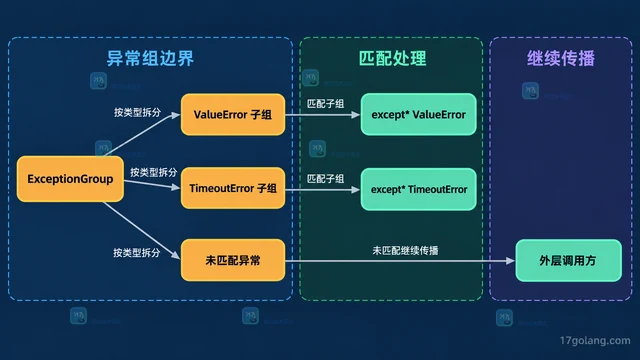
- 文章 · python教程 | 18小时前 | 异常处理 · 并发编程 · Python教程 · asyncio · asyncio 结构化并发 ExceptionGroup except* Python TaskGroup
- Python TaskGroup 如何汇总多个子任务异常
- 208浏览 收藏
-
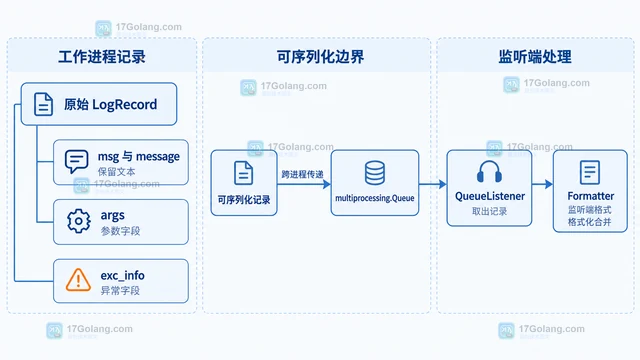
- 文章 · python教程 | 21小时前 | 并发编程 · 工程实践 · Python教程 · 多进程日志 QueueListener multiprocessing.Queue RotatingFileHandler Python QueueHandler
- Python 日志 QueueHandler 解决多进程写入争用
- 186浏览 收藏
-
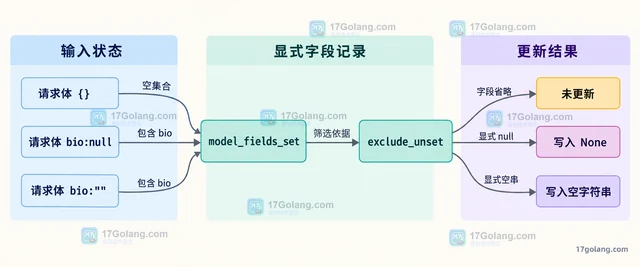
- 文章 · python教程 | 1天前 | 数据校验 · python · Pydantic 部分更新 exclude_unset model_fields_set 显式空值 model_dump
- Pydantic 模型更新时区分未提供字段与显式空值
- 399浏览 收藏
-
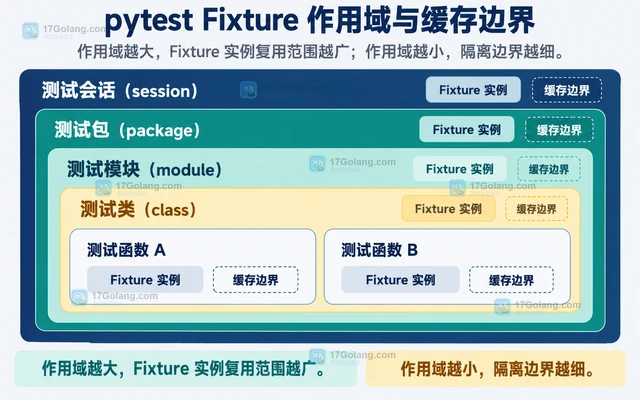
- 文章 · python教程 | 1天前 |
- pytest Fixture 作用域如何影响测试隔离与速度
- 341浏览 收藏
-
- 前端进阶之JavaScript设计模式
- 设计模式是开发人员在软件开发过程中面临一般问题时的解决方案,代表了最佳的实践。本课程的主打内容包括JS常见设计模式以及具体应用场景,打造一站式知识长龙服务,适合有JS基础的同学学习。
- 543次学习
-

- GO语言核心编程课程
- 本课程采用真实案例,全面具体可落地,从理论到实践,一步一步将GO核心编程技术、编程思想、底层实现融会贯通,使学习者贴近时代脉搏,做IT互联网时代的弄潮儿。
- 516次学习
-
- 简单聊聊mysql8与网络通信
- 如有问题加微信:Le-studyg;在课程中,我们将首先介绍MySQL8的新特性,包括性能优化、安全增强、新数据类型等,帮助学生快速熟悉MySQL8的最新功能。接着,我们将深入解析MySQL的网络通信机制,包括协议、连接管理、数据传输等,让
- 500次学习
-
- JavaScript正则表达式基础与实战
- 在任何一门编程语言中,正则表达式,都是一项重要的知识,它提供了高效的字符串匹配与捕获机制,可以极大的简化程序设计。
- 487次学习
-

- 从零制作响应式网站—Grid布局
- 本系列教程将展示从零制作一个假想的网络科技公司官网,分为导航,轮播,关于我们,成功案例,服务流程,团队介绍,数据部分,公司动态,底部信息等内容区块。网站整体采用CSSGrid布局,支持响应式,有流畅过渡和展现动画。
- 485次学习
-
- PubMedQA
- 深入了解PubMedQA生物医学问答数据集,涵盖其核心功能、使用方法及在临床决策、药物研发等场景的应用,助力提升NLP模型性能。
- 393次使用
-
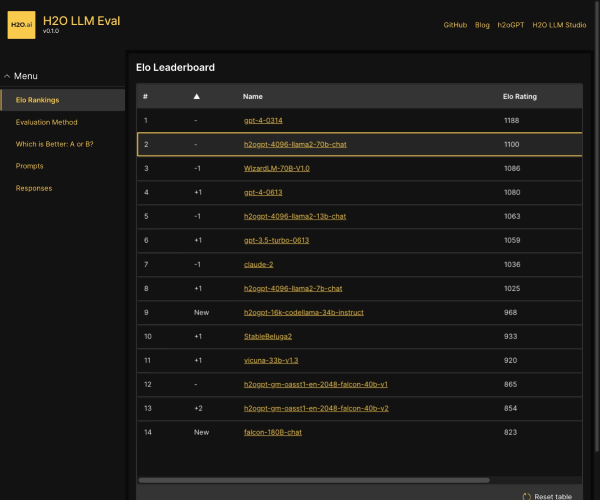
- H2O EvalGPT
- H2O EvalGPT是H2O.ai推出的开源LLM评估平台,提供详细的大模型性能排行榜、行业特定基准测试及A/B测试功能,助您快速选择最适合项目的高性能大语言模型。
- 471次使用
-

- LMArena
- LMArena是加州大学伯克利分校推出的AI模型匿名评测平台。通过盲测投票机制,用户可对比不同大模型回答并生成实时排行榜,助力开发者优化模型及用户选择最佳AI工具。
- 478次使用
-
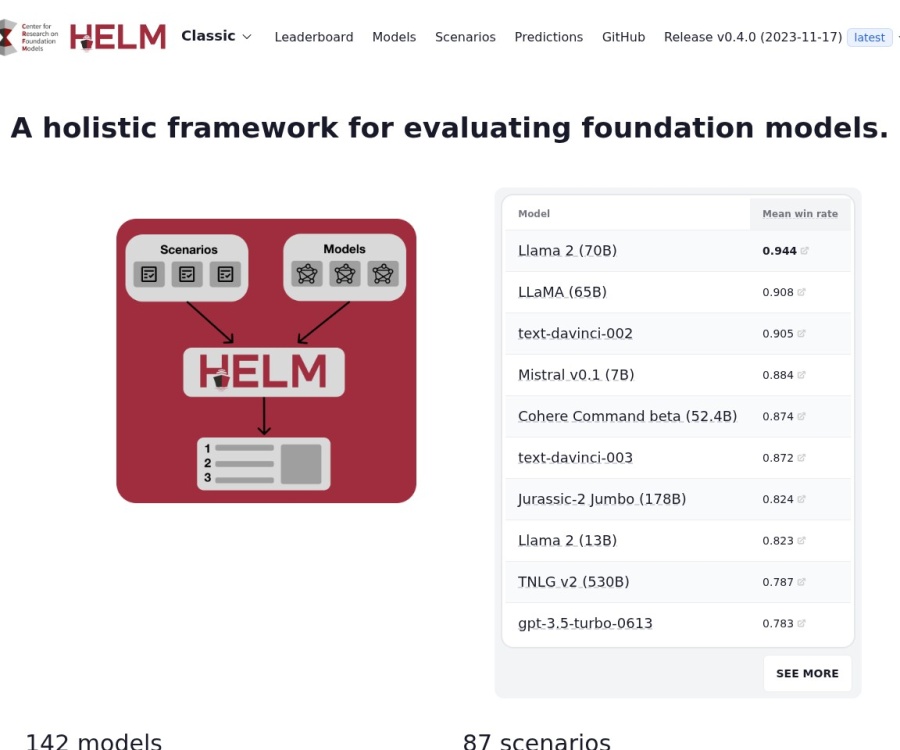
- HELM
- 深入了解斯坦福推出的HELM(Holistic Evaluation of Language Models)大模型评测体系。本文解析其核心功能、安装配置步骤及应用场景,涵盖准确性、公平性、鲁棒性等多维度指标,助力开发者全面优化语言模型性能。
- 421次使用
-
- MMBench
- MMBench是由上海人工智能实验室等机构联合推出的多模态基准测试平台,提供细粒度能力评估、大规模数据集及VLMEvalKit工具。本文详细介绍其核心功能、安装使用方法及应用场景,助力开发者全面评估多模态模型性能。
- 247次使用
-
- Python sqlite3 Connection serialize 怎么导出数据库快照:备份窗口、内存占用与恢复校验
- 2026-08-26 501浏览
-
- Python监控网页状态:requests异常处理实战
- 2026-05-29 501浏览
-
- TensorFlow模型部署为API的TF Serving方法
- 2026-05-26 501浏览
-
- Python字符串编码转换:encode与decode详解
- 2026-05-16 501浏览
-
- TensorFlow裁剪无用算子方法详解
- 2026-05-15 501浏览