springboot项目数据库密码怎么实现加密
来到golang学习网的大家,相信都是编程学习爱好者,希望在这里学习文章相关编程知识。下面本篇文章就来带大家聊聊《springboot项目数据库密码怎么实现加密》,介绍一下,希望对大家的知识积累有所帮助,助力实战开发!
方案一、使用druid数据库连接池对数据库密码加密
1、pom.xml引入druid包
为了方便其他的操作,这边直接引入druid的starter
   com.alibaba
   druid-spring-boot-starter
   ${druid.version}
2、利用com.alibaba.druid.filter.config.ConfigTools生成公私钥
ps: 生成的方式有两种,一种利用命令行生成,一种直接写个工具类生成。本文示例直接采用工具类生成
工具类代码如下
/**
 * alibaba druid加解密规则:
 * 明文密码+私钥(privateKey)加密=加密密码
 * 加密密码+公钥(publicKey)解密=明文密码
 */
public final class DruidEncryptorUtils {

    private static String privateKey;

    private static String publicKey;

    static {
        try {
            String[] keyPair = ConfigTools.genKeyPair(512);
            privateKey = keyPair[0];
            System.out.println(String.format("privateKey-->%s",privateKey));
            publicKey = keyPair[1];
            System.out.println(String.format("publicKey-->%s",publicKey));
        } catch (NoSuchAlgorithmException e) {
            e.printStackTrace();
        } catch (NoSuchProviderException e) {
            e.printStackTrace();
        }
    }

    /**
     * 明文加密
     * @param plaintext
     * @return
     */
    @SneakyThrows
    public static String encode(String plaintext){
        System.out.println("明文字符串:" + plaintext);
        String ciphertext = ConfigTools.encrypt(privateKey,plaintext);
        System.out.println("加密后字符串:" + ciphertext);
        return ciphertext;
    }

    /**
     * 解密
     * @param ciphertext
     * @return
     */
    @SneakyThrows
    public static String decode(String ciphertext){
        System.out.println("加密字符串:" + ciphertext);
        String plaintext = ConfigTools.decrypt(publicKey,ciphertext);
        System.out.println("解密后的字符串:" + plaintext);

        return plaintext;
    }
3、修改数据库的配置文件内容信息
a 、 修改密码
把密码替换成用DruidEncryptorUtils这个工具类生成的密码
password: ${DATASOURCE_PWD:HB5FmUeAI1U81YJrT/T6awImFg1/Az5o8imy765WkVJouOubC2H80jqmZrr8L9zWKuzS/8aGzuQ4YySAkhywnA==}b、 filter开启config
 filter:
                config:
                    enabled: true
c、配置connectionProperties属性
connection-properties: config.decrypt=true;config.decrypt.key=${spring.datasource.publickey}ps: spring.datasource.publickey为工具类生成的公钥
附录: 完整数据库配置
spring:
    datasource:
        type: com.alibaba.druid.pool.DruidDataSource
        driverClassName: com.mysql.cj.jdbc.Driver
        url: ${DATASOURCE_URL:jdbc:mysql://localhost:3306/demo?useUnicode=true&characterEncoding=utf8&useSSL=false&serverTimezone=Asia/Shanghai}
        username: ${DATASOURCE_USERNAME:root}
        password: ${DATASOURCE_PWD:HB5FmUeAI1U81YJrT/T6awImFg1/Az5o8imy765WkVJouOubC2H80jqmZrr8L9zWKuzS/8aGzuQ4YySAkhywnA==}
        publickey: MFwwDQYJKoZIhvcNAQEBBQADSwAwSAJBAIvP9xF4RCM4oFiu47NZY15iqNOAB9K2Ml9fiTLa05CWaXK7uFwBImR7xltZM1frl6ahWAXJB6a/FSjtJkTZUJECAwEAAQ==
        druid:
            # 初始连接数
            initialSize: 5
            # 最小连接池数量
            minIdle: 10
            # 最大连接池数量
            maxActive: 20
            # 配置获取连接等待超时的时间
            maxWait: 60000
            # 配置间隔多久才进行一次检测,检测需要关闭的空闲连接,单位是毫秒
            timeBetweenEvictionRunsMillis: 60000
            # 配置一个连接在池中最小生存的时间,单位是毫秒
            minEvictableIdleTimeMillis: 300000
            # 配置一个连接在池中最大生存的时间,单位是毫秒
            maxEvictableIdleTimeMillis: 900000
            # 配置检测连接是否有效
            validationQuery: SELECT 1 FROM DUAL
            testWhileIdle: true
            testOnBorrow: false
            testOnReturn: false
            webStatFilter:
                enabled: true
            statViewServlet:
                enabled: true
                # 设置白名单,不填则允许所有访问
                allow:
                url-pattern: /druid/*
                # 控制台管理用户名和密码
                login-username:
                login-password:
            filter:
                stat:
                    enabled: true
                    # 慢SQL记录
                    log-slow-sql: true
                    slow-sql-millis: 1000
                    merge-sql: true
                wall:
                    config:
                        multi-statement-allow: true
                config:
                    enabled: true
            connection-properties: config.decrypt=true;config.decrypt.key=${spring.datasource.publickey}
方案二:使用jasypt对数据库密码加密
1、pom.xml引入jasypt包
   com.github.ulisesbocchio
   jasypt-spring-boot-starter
   ${jasypt.verison}
2、利用jasypt提供的工具类对明文密码进行加密
加密工具类如下
public final class JasyptEncryptorUtils {


    private static final String salt = "lybgeek";

    private static BasicTextEncryptor basicTextEncryptor = new BasicTextEncryptor();

    static {
        basicTextEncryptor.setPassword(salt);
    }

    private JasyptEncryptorUtils(){}

    /**
     * 明文加密
     * @param plaintext
     * @return
     */
    public static String encode(String plaintext){
        System.out.println("明文字符串:" + plaintext);
        String ciphertext = basicTextEncryptor.encrypt(plaintext);
        System.out.println("加密后字符串:" + ciphertext);
        return ciphertext;
    }

    /**
     * 解密
     * @param ciphertext
     * @return
     */
    public static String decode(String ciphertext){
        System.out.println("加密字符串:" + ciphertext);
        ciphertext = "ENC(" + ciphertext + ")";
        if (PropertyValueEncryptionUtils.isEncryptedValue(ciphertext)){
            String plaintext = PropertyValueEncryptionUtils.decrypt(ciphertext,basicTextEncryptor);
            System.out.println("解密后的字符串:" + plaintext);
            return plaintext;
        }
        System.out.println("解密失败");
        return "";
    }
}
3、修改数据库的配置文件内容信息
a、 用ENC包裹用JasyptEncryptorUtils 生成的加密串
password: ${DATASOURCE_PWD:ENC(P8m43qmzqN4c07DCTPey4Q==)}b、 配置密钥和指定加解密算法
jasypt:
    encryptor:
        password: lybgeek
        algorithm: PBEWithMD5AndDES
        iv-generator-classname: org.jasypt.iv.NoIvGenerator
因为我工具类使用的是加解密的工具类是BasicTextEncryptor,其对应配置加解密就是PBEWithMD5AndDES和org.jasypt.iv.NoIvGenerator
ps: 在生产环境中,建议使用如下方式配置密钥,避免密钥泄露
java -jar -Djasypt.encryptor.password=lybgeek
附录: 完整数据库配置
spring:
    datasource:
        type: com.alibaba.druid.pool.DruidDataSource
        driverClassName: com.mysql.cj.jdbc.Driver
        url: ${DATASOURCE_URL:ENC(kT/gwazwzaFNEp7OCbsgCQN7PHRohaTKJNdGVgLsW2cH67zqBVEq7mN0BTIXAeF4/Fvv4l7myLFx0y6ap4umod7C2VWgyRU5UQtKmdwzQN3hxVxktIkrFPn9DM6+YahM0xP+ppO9HaWqA2ral0ejBCvmor3WScJNHCAhI9kHjYc=)}
        username: ${DATASOURCE_USERNAME:ENC(rEQLlqM5nphqnsuPj3MlJw==)}
        password: ${DATASOURCE_PWD:ENC(P8m43qmzqN4c07DCTPey4Q==)}
        druid:
            # 初始连接数
            initialSize: 5
            # 最小连接池数量
            minIdle: 10
            # 最大连接池数量
            maxActive: 20
            # 配置获取连接等待超时的时间
            maxWait: 60000
            # 配置间隔多久才进行一次检测,检测需要关闭的空闲连接,单位是毫秒
            timeBetweenEvictionRunsMillis: 60000
            # 配置一个连接在池中最小生存的时间,单位是毫秒
            minEvictableIdleTimeMillis: 300000
            # 配置一个连接在池中最大生存的时间,单位是毫秒
            maxEvictableIdleTimeMillis: 900000
            # 配置检测连接是否有效
            validationQuery: SELECT 1 FROM DUAL
            testWhileIdle: true
            testOnBorrow: false
            testOnReturn: false
            webStatFilter:
                enabled: true
            statViewServlet:
                enabled: true
                # 设置白名单,不填则允许所有访问
                allow:
                url-pattern: /druid/*
                # 控制台管理用户名和密码
                login-username:
                login-password:
            filter:
                stat:
                    enabled: true
                    # 慢SQL记录
                    log-slow-sql: true
                    slow-sql-millis: 1000
                    merge-sql: true
                wall:
                    config:
                        multi-statement-allow: true
jasypt:
    encryptor:
        password: lybgeek
        algorithm: PBEWithMD5AndDES
        iv-generator-classname: org.jasypt.iv.NoIvGenerator
方案三:自定义实现
实现原理: 利用spring后置处理器修改DataSource
1、自定义加解密工具类
/**
 * 利用hutool封装的加解密工具,以AES对称加密算法为例
 */
public final class EncryptorUtils {

    private static String secretKey;


    static {
        secretKey = Hex.encodeHexString(SecureUtil.generateKey(SymmetricAlgorithm.AES.getValue()).getEncoded());
        System.out.println("secretKey-->" + secretKey);
        System.out.println("--------------------------------------------------------------------------------------");
    }

    /**
     * 明文加密
     * @param plaintext
     * @return
     */
    @SneakyThrows
    public static String encode(String plaintext){
        System.out.println("明文字符串:" + plaintext);
        byte[] key = Hex.decodeHex(secretKey.toCharArray());
        String ciphertext =  SecureUtil.aes(key).encryptHex(plaintext);
        System.out.println("加密后字符串:" + ciphertext);

        return ciphertext;
    }

    /**
     * 解密
     * @param ciphertext
     * @return
     */
    @SneakyThrows
    public static String decode(String ciphertext){
        System.out.println("加密字符串:" + ciphertext);
        byte[] key = Hex.decodeHex(secretKey.toCharArray());
        String plaintext = SecureUtil.aes(key).decryptStr(ciphertext);
        System.out.println("解密后的字符串:" + plaintext);

        return plaintext;
    }

    /**
     * 明文加密
     * @param plaintext
     * @return
     */
    @SneakyThrows
    public static String encode(String secretKey,String plaintext){
        System.out.println("明文字符串:" + plaintext);
        byte[] key = Hex.decodeHex(secretKey.toCharArray());
        String ciphertext =  SecureUtil.aes(key).encryptHex(plaintext);
        System.out.println("加密后字符串:" + ciphertext);

        return ciphertext;
    }

    /**
     * 解密
     * @param ciphertext
     * @return
     */
    @SneakyThrows
    public static String decode(String secretKey,String ciphertext){
        System.out.println("加密字符串:" + ciphertext);
        byte[] key = Hex.decodeHex(secretKey.toCharArray());
        String plaintext = SecureUtil.aes(key).decryptStr(ciphertext);
        System.out.println("解密后的字符串:" + plaintext);

        return plaintext;
    }
}
2、编写后置处理器
public class DruidDataSourceEncyptBeanPostProcessor implements BeanPostProcessor {

    private CustomEncryptProperties customEncryptProperties;

    private DataSourceProperties dataSourceProperties;

    public DruidDataSourceEncyptBeanPostProcessor(CustomEncryptProperties customEncryptProperties, DataSourceProperties dataSourceProperties) {
        this.customEncryptProperties = customEncryptProperties;
        this.dataSourceProperties = dataSourceProperties;
    }


    @Override
    public Object postProcessBeforeInitialization(Object bean, String beanName) throws BeansException {
        if(bean instanceof DruidDataSource){
            if(customEncryptProperties.isEnabled()){
                DruidDataSource druidDataSource = (DruidDataSource)bean;
                System.out.println("--------------------------------------------------------------------------------------");
                String username = dataSourceProperties.getUsername();
                druidDataSource.setUsername(EncryptorUtils.decode(customEncryptProperties.getSecretKey(),username));
                System.out.println("--------------------------------------------------------------------------------------");
                String password = dataSourceProperties.getPassword();
                druidDataSource.setPassword(EncryptorUtils.decode(customEncryptProperties.getSecretKey(),password));
                System.out.println("--------------------------------------------------------------------------------------");
                String url = dataSourceProperties.getUrl();
                druidDataSource.setUrl(EncryptorUtils.decode(customEncryptProperties.getSecretKey(),url));
                System.out.println("--------------------------------------------------------------------------------------");
            }

        }
        return bean;
    }
}
3、修改数据库的配置文件内容信息
a 、 修改密码
把密码替换成用自定义加密工具类生成的加密密码
password: ${DATASOURCE_PWD:fb31cdd78a5fa2c43f530b849f1135e7}b 、 指定密钥和开启加密功能
custom:
    encrypt:
        enabled: true
        secret-key: 2f8ba810011e0973728afa3f28a0ecb6
ps: 同理secret-key最好也不要直接暴露在配置文件中,可以用-Dcustom.encrypt.secret-key指定
附录: 完整数据库配置
spring:
    datasource:
        type: com.alibaba.druid.pool.DruidDataSource
        driverClassName: com.mysql.cj.jdbc.Driver
        url: ${DATASOURCE_URL:dcb268cf3a2626381d2bc5c96f94fb3d7f99352e0e392362cb818a321b0ca61f3a8dad3aeb084242b745c61a1d3dc244ed1484bf745c858c44560dde10e60e90ac65f77ce2926676df7af6b35aefd2bb984ff9a868f1f9052ee9cae5572fa015b66a602f32df39fb1bbc36e04cc0f148e4d610a3e5d54f2eb7c57e4729c9d7b4}
        username: ${DATASOURCE_USERNAME:61db3bf3c6d3fe3ce87549c1af1e9061}
        password: ${DATASOURCE_PWD:fb31cdd78a5fa2c43f530b849f1135e7}
        druid:
            # 初始连接数
            initialSize: 5
            # 最小连接池数量
            minIdle: 10
            # 最大连接池数量
            maxActive: 20
            # 配置获取连接等待超时的时间
            maxWait: 60000
            # 配置间隔多久才进行一次检测,检测需要关闭的空闲连接,单位是毫秒
            timeBetweenEvictionRunsMillis: 60000
            # 配置一个连接在池中最小生存的时间,单位是毫秒
            minEvictableIdleTimeMillis: 300000
            # 配置一个连接在池中最大生存的时间,单位是毫秒
            maxEvictableIdleTimeMillis: 900000
            # 配置检测连接是否有效
            validationQuery: SELECT 1 FROM DUAL
            testWhileIdle: true
            testOnBorrow: false
            testOnReturn: false
            webStatFilter:
                enabled: true
            statViewServlet:
                enabled: true
                # 设置白名单,不填则允许所有访问
                allow:
                url-pattern: /druid/*
                # 控制台管理用户名和密码
                login-username:
                login-password:
            filter:
                stat:
                    enabled: true
                    # 慢SQL记录
                    log-slow-sql: true
                    slow-sql-millis: 1000
                    merge-sql: true
                wall:
                    config:
                        multi-statement-allow: true
custom:
    encrypt:
        enabled: true
        secret-key: 2f8ba810011e0973728afa3f28a0ecb6
到这里,我们也就讲完了《springboot项目数据库密码怎么实现加密》的内容了。个人认为,基础知识的学习和巩固,是为了更好的将其运用到项目中,欢迎关注golang学习网公众号,带你了解更多关于SpringBoot,数据库的知识点!
 使用 waitgroup 程序陷入死锁
- 上一篇
- 使用 waitgroup 程序陷入死锁

- 下一篇
- 整数溢出-golang
-
- 文章 · java教程 | 2天前 | map · 并发安全 · 缓存设计 · Java教程 · java optional concurrenthashmap computeIfAbsent Map缓存
- Java computeIfAbsent 缓存初始化实战:少写判断、避开空值和并发坑
- 236浏览 收藏
-
- 文章 · java教程 | 2天前 | Java · 异步编程 · 后端开发 · CompletableFuture · 接口聚合 · java 结果合并 completablefuture 并行调用 超时兜底
- Java CompletableFuture 多接口聚合完整流程:并行调用、超时兜底和结果合并
- 428浏览 收藏
-

- 文章 · java教程 | 2天前 | Java · 线程安全 · DateTimeFormatter · 日期处理 · 并发问题 · java 线程安全 日期格式化 threadlocal SimpleDateFormat DateTimeFormatter
- Java SimpleDateFormat 日期偶发错乱怎么办:从共享实例到线程安全一步步排查
- 481浏览 收藏
-
- 文章 · java教程 | 4天前 | http接口 · httpclient · Java教程 · 接口调试 · 超时处理 · java 接口调用 httpclient 超时控制 状态码 响应体
- Java HttpClient 调接口实战:超时、状态码和响应体这样处理
- 224浏览 收藏
-
- 文章 · java教程 | 4天前 | 时间处理 · instant · Java教程 · 时区转换 · DateTimeFormatter · java DateTimeFormatter java.time 时区处理 ZoneId INSTANT
- Java 时间与时区处理实战:Instant、ZoneId 和 DateTimeFormatter 怎么配
- 461浏览 收藏
-

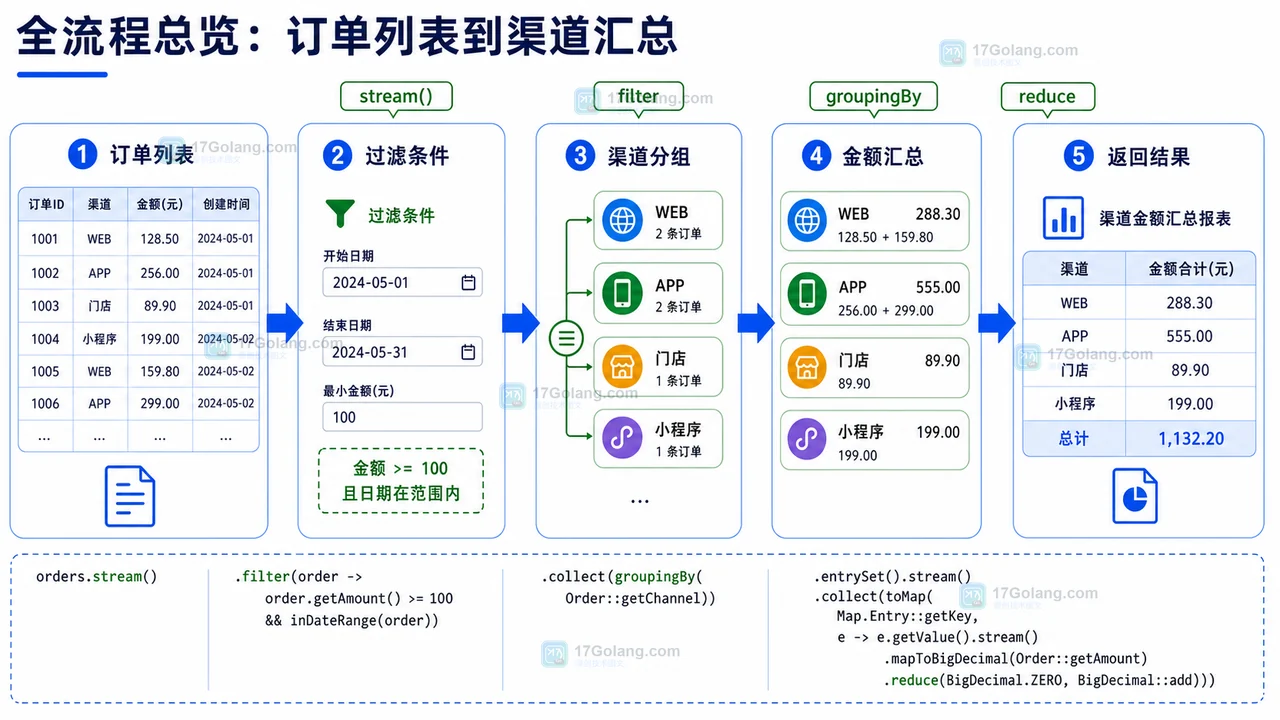
- 文章 · java教程 | 4天前 | Java · Stream · 集合统计 · 分组聚合 · Collectors · java Stream Collectors groupingBy counting summarizingInt
- Java Stream 分组统计实战:groupingBy、counting 和 summarizingInt 怎么用
- 478浏览 收藏
-
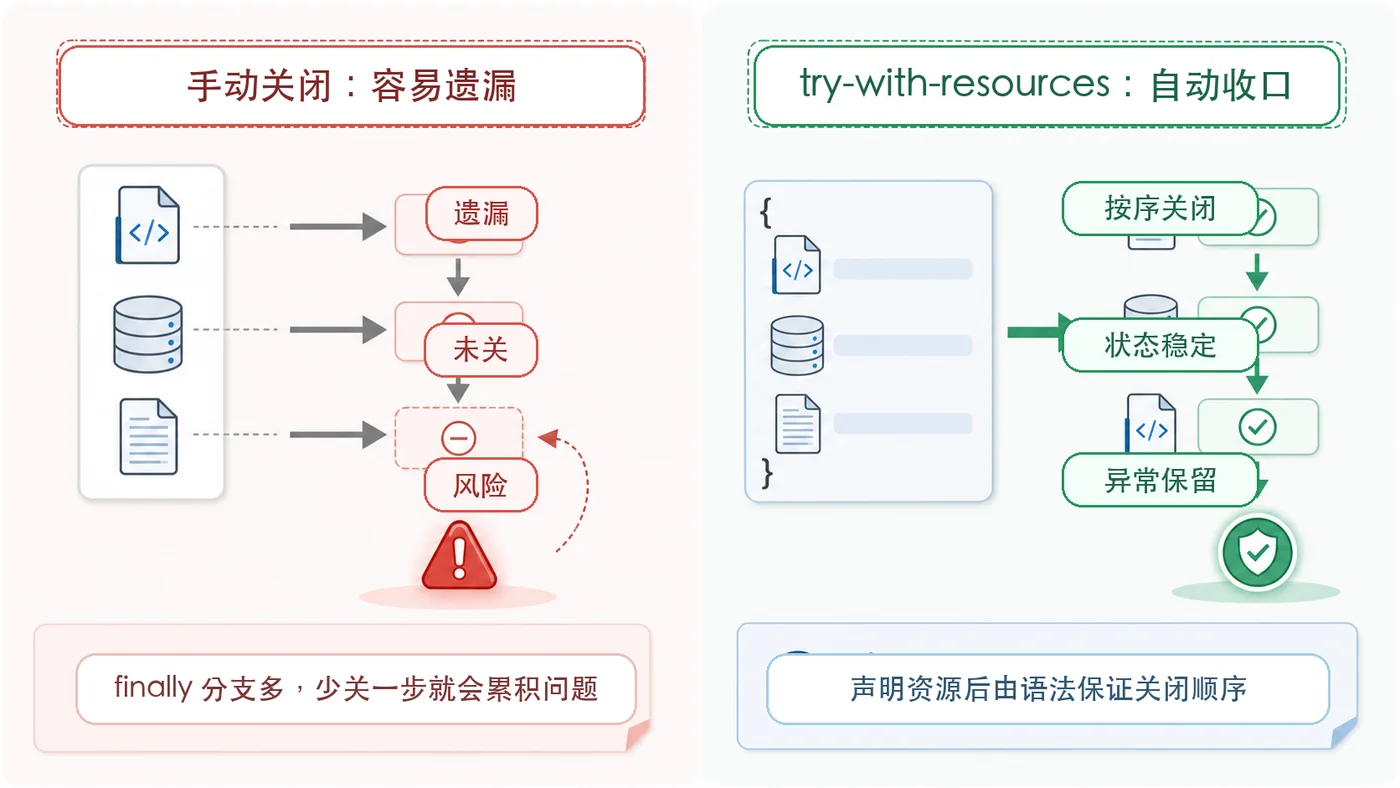
- 文章 · java教程 | 5天前 | Java · 文件读取 · 异常处理 · 资源管理 · try-with-resources · java 异常处理 try-with-resources 资源关闭 AutoCloseable 文件流
- Java try-with-resources 资源关闭实战:文件流和目录扫描这样写更稳
- 268浏览 收藏
-

- 前端进阶之JavaScript设计模式
- 设计模式是开发人员在软件开发过程中面临一般问题时的解决方案,代表了最佳的实践。本课程的主打内容包括JS常见设计模式以及具体应用场景,打造一站式知识长龙服务,适合有JS基础的同学学习。
- 543次学习
-

- GO语言核心编程课程
- 本课程采用真实案例,全面具体可落地,从理论到实践,一步一步将GO核心编程技术、编程思想、底层实现融会贯通,使学习者贴近时代脉搏,做IT互联网时代的弄潮儿。
- 516次学习
-

- 简单聊聊mysql8与网络通信
- 如有问题加微信:Le-studyg;在课程中,我们将首先介绍MySQL8的新特性,包括性能优化、安全增强、新数据类型等,帮助学生快速熟悉MySQL8的最新功能。接着,我们将深入解析MySQL的网络通信机制,包括协议、连接管理、数据传输等,让
- 500次学习
-
- JavaScript正则表达式基础与实战
- 在任何一门编程语言中,正则表达式,都是一项重要的知识,它提供了高效的字符串匹配与捕获机制,可以极大的简化程序设计。
- 487次学习
-

- 从零制作响应式网站—Grid布局
- 本系列教程将展示从零制作一个假想的网络科技公司官网,分为导航,轮播,关于我们,成功案例,服务流程,团队介绍,数据部分,公司动态,底部信息等内容区块。网站整体采用CSSGrid布局,支持响应式,有流畅过渡和展现动画。
- 485次学习
-

- ljg-skills
- ljg-skills 是李继刚开源的 AI 技能与提示词集合,面向大模型使用者整理了一批可复用的 prompt、角色设定和任务技能模板,适合用于学习提示词设计、搭建个人 AI 工作流和沉淀团队常用智能体能力。
- 569次使用
-

- MELO音乐
- MELO音乐是一站式AI视频与音乐制作助手,对标suno, udio的高品质体验。提供伴奏生成、原创写词、无损导出、哼唱识曲、混音变声等全套音频与短视频编辑工具。无论是流行Kpop、电音说唱、民谣古风、摇滚儿歌还是商用轻音乐,MELO为你免费谱曲,轻松做同款!
- 586次使用
-

- UniScribe
- UniScribe 是一款 AI 音视频转文字与内容整理工具,支持上传音频、视频文件或粘贴 YouTube 链接,自动生成转写文本、摘要、思维导图和关键问题,并支持多格式导出,适合会议记录、课程学习、访谈整理和内容创作复盘。
- 554次使用
-

- 剧云
- 剧云是专业中文剧本创作平台,安全稳定运行十余年,集成AI编剧、剧本医生审核、人物小传、剧情关系图、大纲编写、多人协作、Word导入导出、版权管控功能,数据安全防护,轻松高效创作剧本。
- 714次使用
-

- 万象有声
- 万象有声,一个专为有声创作者打造的新一代智能有声内容创作平台。平台提供专业的智能拆章、智能画本编辑、AI配音、AI生成音效、后期制作、智能对轨、智能审听等有声创作全流程工具,可以帮助创作者高效、低成本创作出引人入胜的有声作品。立即体验,让有声书制作更简单!
- 704次使用
-
- 提升Java功能开发效率的有力工具:微服务架构
- 2023-10-06 501浏览
-
- 掌握Java海康SDK二次开发的必备技巧
- 2023-10-01 501浏览
-
- 如何使用java实现桶排序算法
- 2023-10-03 501浏览
-
- Java开发实战经验:如何优化开发逻辑
- 2023-10-31 501浏览
-
- 如何使用Java中的Math.max()方法比较两个数的大小?
- 2023-11-18 501浏览